sterling gg series heater manual

This manual provides essential guidance for installing, operating, and maintaining the Sterling GG Series Heater. It ensures safe and efficient use, covering key features and troubleshooting tips.
1.1 Overview of the Sterling GG Series Heater

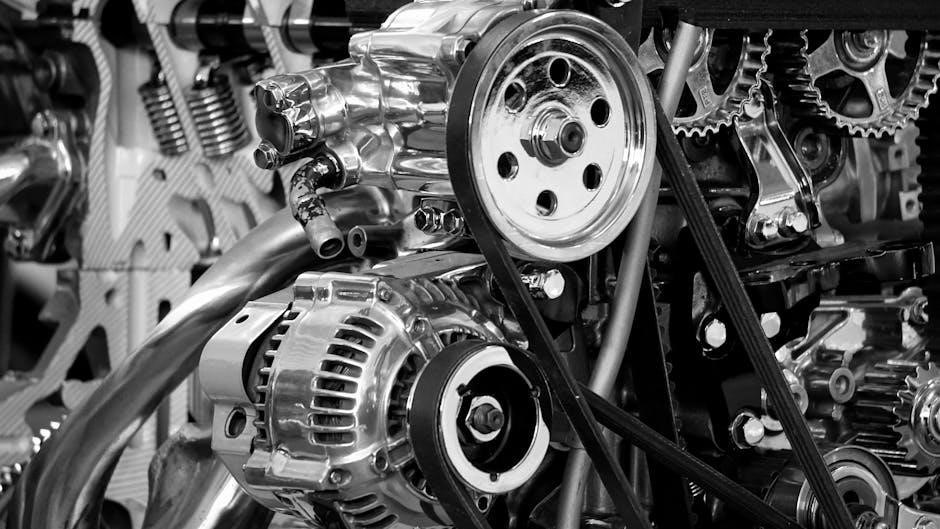
The Sterling GG Series Heater is a gas-fired, low-profile unit designed for residential and commercial use. It features a proprietary single-orifice burner system, ensuring durability and ease of maintenance. With a tubular heat exchanger, it offers superior efficiency and reliability. Ideal for garages, utility spaces, and non-occupied commercial areas, this heater combines compact design with robust performance. Its ETL certification ensures safety and compliance with industry standards. Available in various models, the GG Series provides versatile heating solutions tailored to different spaces and requirements, making it a practical choice for efficient and dependable heating.
1.2 Importance of Reading the Manual
Reading the manual is crucial for safely installing, operating, and maintaining the Sterling GG Series Heater. It ensures compliance with safety standards, preventing potential hazards. The manual provides detailed instructions for proper installation, operation, and troubleshooting, helping users avoid costly mistakes. Understanding the heater’s features, controls, and maintenance requirements is essential for optimal performance and longevity. By following the guidelines, users can ensure efficient energy use and reliability. The manual also highlights critical safety precautions, making it indispensable for both installers and end-users. Familiarizing yourself with the content guarantees a smooth and safe heating experience, adhering to manufacturer recommendations and industry regulations.

Installation Instructions
Installation requires opening the manual valve, turning on electrical power, and ensuring the unit is controlled by a thermostat. Proper setup prevents damage and ensures safety.
2.1 Pre-Installation Checks

Before installing the Sterling GG Series Heater, ensure the area is clear of flammable materials and proper ventilation is available. Verify that all components are included and undamaged. Check gas and electrical connections for compatibility and safety. Ensure the heater is suitable for your space and complies with local regulations. Review the manual thoroughly to understand installation requirements and safety precautions. Proper preparation ensures a safe and efficient installation process, preventing potential hazards and ensuring optimal performance of the heater.
2.2 Step-by-Step Installation Process
Begin by opening the manual valve on the unit heater. Next, turn on the electrical power and ensure the heater is connected to a thermostat. Follow the wiring diagram in the manual to connect the thermostat correctly. Mount the heater securely, ensuring it is level and properly anchored to prevent vibration. Connect the gas supply line, making sure all connections are tight and leak-free. Turn on the gas supply and test for leaks using a soap solution. Finally, set the thermostat to the desired temperature and verify the heater operates smoothly. Always refer to the manual for specific details and safety guidelines during installation.
2.3 Installation Considerations and Safety Precautions
Ensure proper ventilation in the installation area to prevent gas fumes accumulation. Secure the heater firmly to prevent vibration or movement. Check gas supply lines for leaks using a soap solution. Install in accordance with local building codes and regulations. Keep the area clear of flammable materials during and after installation. Ensure all electrical connections are secure and meet safety standards. Follow the manual’s instructions for thermostat wiring to avoid malfunction. Test the system thoroughly after installation to ensure safe operation. Always adhere to safety guidelines outlined in the manual to prevent accidents and ensure optimal performance of the Sterling GG Series Heater.

Operating the Sterling GG Series Heater
Ensure the heater is under thermostat control for precise temperature regulation. Monitor daily operation to maintain efficiency and safety, adhering to the manual’s guidelines for optimal performance.
3.1 Starting the Heater
To start the Sterling GG Series Heater, ensure the manual valve is open. Turn on the electrical power and allow the system to activate. The heater should operate under the thermostat’s control, providing efficient heating. Always refer to the manual for specific startup procedures to ensure safe and proper operation. Regular checks and adherence to guidelines help maintain optimal performance and longevity of the unit.

3.2 Thermostat Controls and Settings
The Sterling GG Series Heater is controlled by a thermostat, which regulates heating based on the set temperature. To operate, turn the thermostat to the desired setting, and the heater will activate automatically. Adjust the thermostat as needed for optimal comfort. For energy efficiency, set the thermostat between 65°F and 70°F during heating seasons. Always follow the manufacturer’s guidelines for thermostat settings to ensure safe and efficient operation. Proper use of the thermostat helps maintain consistent heating and prevents unnecessary energy consumption, ensuring the heater performs effectively and safely throughout its service life.
3.3 Daily Operation and Monitoring Tips
For optimal performance, conduct daily checks on the Sterling GG Series Heater. Ensure the unit is free from dust and debris, and verify that all vents are unobstructed. Monitor the heater for unusual noises or odors, which may indicate a need for maintenance. Check the thermostat settings regularly to maintain desired temperatures. Keep the surrounding area clear of flammable materials. Avoid moving the heater during operation, as this could disrupt its function. If issues arise, refer to the troubleshooting section of the manual. Proper monitoring ensures safe, efficient, and reliable operation of the heater throughout its service life.

Maintenance and Troubleshooting
Regularly inspect and clean the burner, heat exchanger, and venting system. Address common issues like ignition failure or error codes by consulting the troubleshooting guide.
4.1 Routine Maintenance Checks
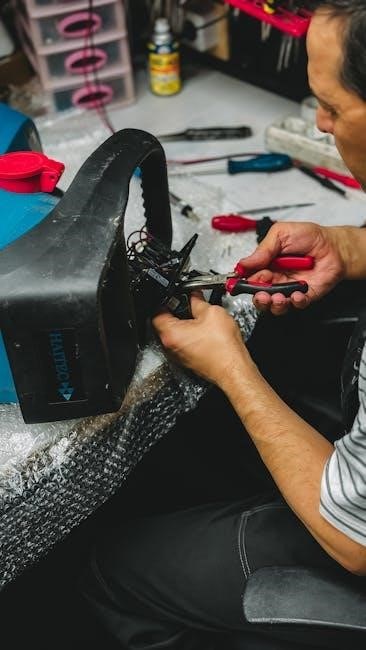
Regular maintenance ensures optimal performance and safety. Check the burner orifice for blockages and clean as needed. Inspect the heat exchanger for signs of damage or corrosion. Ensure all venting systems are clear and properly connected. Verify that the electrical connections are secure and free from damage. Also, examine the thermostats and controls for proper function. Replace any worn or damaged components promptly. Refer to the manual for specific maintenance schedules and guidelines to maintain efficiency and prevent potential issues. Always turn off power before performing any maintenance tasks to ensure safety.
4.2 Common Issues and Solutions
Common issues with the Sterling GG Series Heater include ignition problems, insufficient heat, or erratic thermostat behavior. For ignition issues, check the gas supply and ensure the valve is open. Clean the burner orifice if clogged. If the heater isn’t producing enough heat, verify thermostat settings and ensure proper ventilation. For thermostat malfunctions, reset or replace the thermostat as needed. Additionally, check for loose electrical connections and ensure all components are functioning correctly. Always refer to the manual for specific troubleshooting steps and solutions to resolve issues efficiently and safely. Proper maintenance can often prevent these issues from occurring. Regular checks are essential.
4.3 Resetting the Heater
To reset the Sterling GG Series Heater, first, turn off the manual valve on the unit heater. Next, switch off the electrical power supply. Wait for about five minutes to ensure any residual heat or electricity is dissipated. After waiting, turn the manual valve back on and restore the electrical power. The heater should now restart. If it doesn’t, refer to the troubleshooting section or contact customer support. Always follow these steps carefully to ensure safety and proper functioning of the heater.

Technical Specifications and Warranty
The Sterling GG Series Heater features a single-orifice burner system, ETL certification, and offers standard or separated combustion configurations. Warranty details and support information are provided in the manual.
5.1 Key Specifications of the Sterling GG Series Heater
The Sterling GG Series Heater features a single-orifice burner system for simplicity and durability. It offers heating capacities ranging from 30 to 120 MBH with 82% thermal efficiency. Designed for both residential and light commercial use, the heater is certified for garage or utility applications. It supports standard or separated combustion configurations, ensuring flexibility in installation. The unit is ETL certified, meeting safety and performance standards. Compact and low-profile, it is ideal for space-saving installations. The heater operates efficiently in various settings, providing reliable heat with minimal maintenance. These specifications make the Sterling GG Series a versatile and efficient heating solution for diverse applications.
5.2 Warranty Information and Support
The Sterling GG Series Heater is backed by a comprehensive warranty program, ensuring customer satisfaction and product reliability. The warranty typically covers parts and labor for a specified period, subject to proper installation and maintenance. Owners must register their product to activate warranty benefits. Dedicated customer support is available to address inquiries, provide technical assistance, and facilitate warranty claims. For detailed terms and conditions, refer to the warranty section in the manual. Sterling HVAC also offers extended support options to ensure uninterrupted service and maintain optimal heater performance throughout its lifespan.