th4110u2005 install manual
This guide simplifies setup of your Honeywell TH4110U2005, offering clear instructions and illustrations for effortless understanding before operation․
Overview of the T4 Pro Programmable Thermostat
The Honeywell Home T4 Pro Programmable Thermostat, model TH4110U2005, represents a significant upgrade in home climate control․ Designed for ease of use, this thermostat allows for customized heating and cooling schedules, optimizing comfort and energy savings․ It’s a user-friendly solution for managing your home’s temperature, offering both manual and automatic operation modes․
This thermostat isn’t just about setting temperatures; it’s about creating a comfortable living environment tailored to your lifestyle․ The T4 Pro boasts a clear display and intuitive controls, making programming straightforward․ It’s a smart investment for anyone seeking to enhance their home’s efficiency and convenience, and this manual will guide you through every step․
Key Features and Benefits
The Honeywell TH4110U2005 offers several key features, including a programmable schedule for customized comfort and energy savings․ System changeover control allows seamless transitions between heating and cooling․ Its intuitive interface simplifies operation, while compatibility with various systems – forced air and fan coil – provides versatility․
Benefits include reduced energy bills through efficient scheduling, enhanced comfort with precise temperature control, and easy installation with clear instructions․ The optional cover plate provides aesthetic appeal․ This thermostat empowers you to manage your home climate effectively, offering convenience and cost savings․ It’s a smart home upgrade designed for simplicity and performance․

Unboxing and Package Contents
Carefully inspect the package for any damage upon arrival, ensuring all components are present before proceeding with the TH4110U2005 installation process․
Identifying the Components
Upon opening the package, familiarize yourself with the included components․ You should find the T4 Pro Programmable Thermostat itself (model TH4110U2005), the thermostat baseplate designed for wall mounting, and mounting screws for secure installation․
Additionally, the package contains wire labels to aid in proper wiring identification during installation, a quick installation guide for a simplified setup process, and a comprehensive user manual providing detailed instructions and troubleshooting tips․ Verify the presence of all these items before beginning the installation to ensure a smooth and successful experience․ The optional cover plate may also be included, depending on your specific package․
Checking for Damage
Before proceeding with the installation, carefully inspect all components for any signs of damage that may have occurred during shipping or handling․ Examine the thermostat unit itself for cracks or physical deformities․
Check the baseplate for bends or breaks, and ensure the mounting screws are present and undamaged․ Verify the integrity of the wiring connectors and the condition of the included manuals and labels․ If any damage is detected, do not attempt to install the thermostat․ Contact Honeywell customer support or the retailer where you purchased the unit for assistance and potential replacement options to avoid safety hazards․
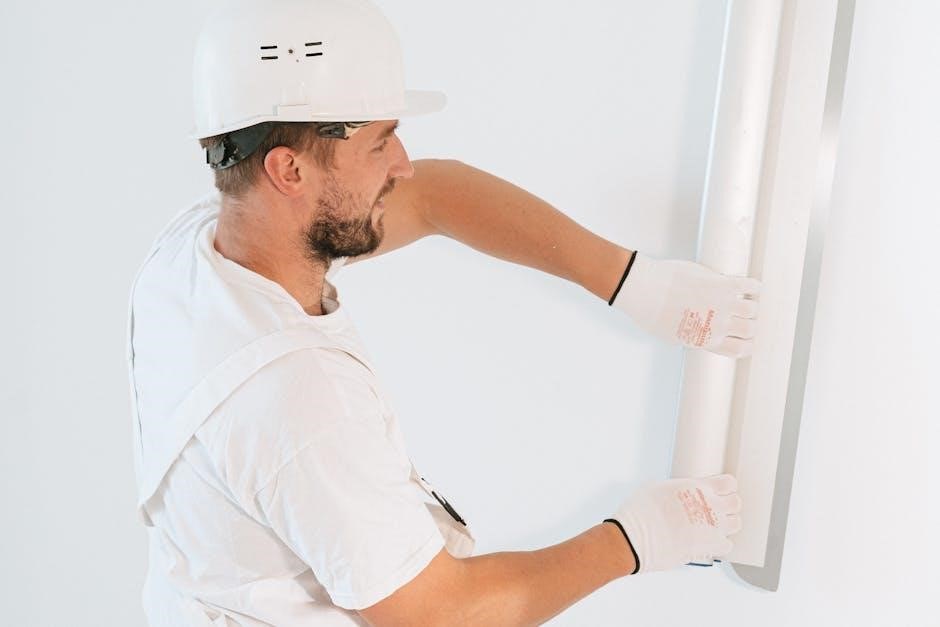
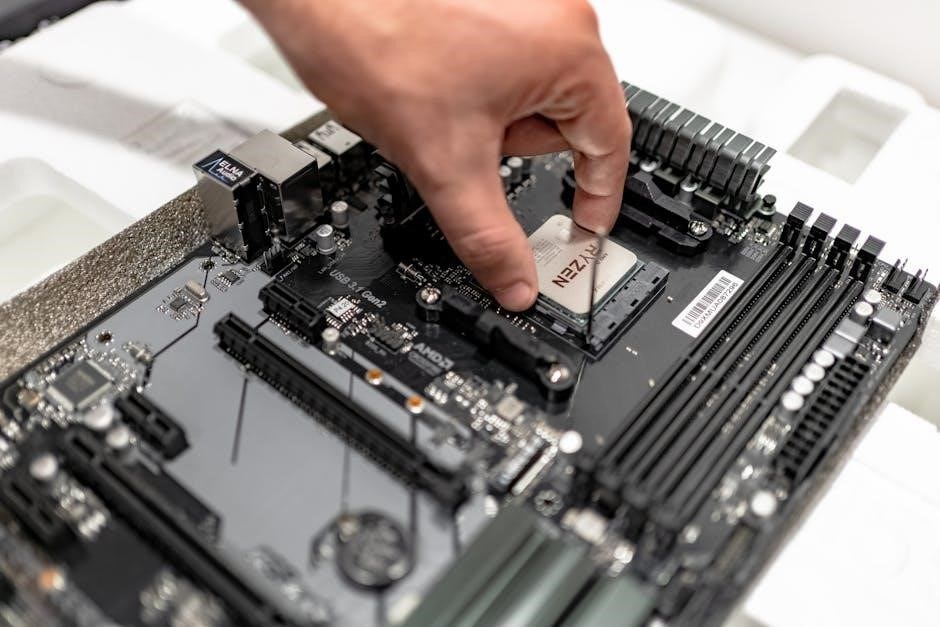
Installation Guide
Read before installing! This section details safety precautions, wiring diagrams, baseplate mounting, and wire connection procedures for your TH4110U2005 thermostat․
Safety Precautions
Prior to installation, always disconnect power to your heating and cooling system at the breaker box to prevent electrical shock․ Improper wiring can damage the thermostat or your system, so carefully follow the wiring diagram․ If you are uncomfortable working with electrical wiring, consult a qualified technician․
Ensure the system voltage matches the thermostat’s requirements․ Do not install the thermostat in a location exposed to direct sunlight, drafts, or extreme temperatures, as this can affect its accuracy․ Keep the thermostat dry during installation․ Dispose of packaging materials responsibly, following local regulations․ Always adhere to local electrical codes and safety standards during the installation process․ Failure to follow these precautions could result in injury or property damage․
Wiring Diagram and Terminal Identification
The TH4110U2005 utilizes standard thermostat wiring․ Common terminals include Rh (power), Rc (heat), W (heat), Y (cool), G (fan), and C (common – required for consistent power)․ Refer to the detailed wiring diagram included in the installation guide for specific configurations based on your system type (forced air or fan coil)․
Carefully identify each wire before connecting it to the corresponding terminal․ Incorrect wiring can cause system malfunction․ If your system lacks a C-wire, a C-wire adapter may be necessary․ Always double-check connections before restoring power․ Note that ISU 205 settings impact system changeover control, influencing terminal functionality․
Mounting the Thermostat Baseplate
Before wiring, securely mount the thermostat baseplate to the wall․ Use the provided screws and wall anchors if necessary, ensuring a level installation․ If utilizing the optional cover plate, note that installation instructions differ; proceed with standard mounting if the cover plate isn’t required․
Carefully feed the thermostat wires through the opening in the baseplate․ Ensure sufficient wire length is available for easy connection to the terminals․ Double-check that the baseplate is firmly attached to the wall before proceeding with the wiring process, preventing instability during installation․
Connecting the Wires
After mounting the baseplate and feeding the wires through, carefully connect each wire to the corresponding terminal․ Refer to the wiring diagram for accurate identification – incorrect connections can damage the system․ Gently insert each wire fully into the terminal, ensuring a secure connection․
Double-check all wire connections before proceeding․ A loose wire can cause malfunctions․ If you encounter difficulty, revisit the wiring diagram and ensure proper alignment․ Once all wires are securely connected, gently push any excess wire back into the wall opening, avoiding pinching or damage․

Initial Setup and Configuration
Power on the thermostat and follow the on-screen prompts to set the date, time, and system type—forced air or fan coil—for optimal performance․
Powering On the Thermostat
Upon completing the wiring connections, the Honeywell TH4110U2005 thermostat should automatically power on․ If it doesn’t, double-check the C-wire connection, as a consistent power supply is crucial for operation․ The thermostat’s display will illuminate, initiating the setup process․ You’ll be guided through a series of prompts to configure essential settings․
If the screen remains blank, verify the breaker supplying power to the HVAC system is switched on․ A brief power cycle – turning the breaker off and then back on – can sometimes resolve initial startup issues․ Ensure all wire connections are secure and correctly inserted into their designated terminals․ Proper power-up is the first step towards enjoying the benefits of your new programmable thermostat;
Setting the Date and Time
After powering on, the Honeywell TH4110U2005 will prompt you to set the current date and time․ Navigate to the “Date” setting using the thermostat’s menu buttons – typically “Menu” or similar․ Utilize the up and down arrow keys to adjust the year, month, and day․ Confirm each selection by pressing “Select” or “OK”․
Repeat this process for setting the time, adjusting the hour and minute․ Accurate date and time settings are vital for the thermostat’s scheduling functions to operate correctly․ Incorrect settings will lead to inaccurate program execution․ Ensure you choose the correct AM/PM designation․ A properly configured date and time ensure your comfort is automated as intended․
Configuring System Type (Forced Air, Fan Coil)
Proper system type configuration is crucial for optimal performance of your Honeywell TH4110U2005․ Access the system settings through the thermostat’s menu․ You’ll be presented with options like “Forced Air” or “Fan Coil”․ Select the option that accurately reflects your home’s heating and cooling system․
Note that the ISU (Indoor System Unit) display of this setting is only visible if ISU 205 is set to Electric Forced Air or Fan Coil․ Incorrect selection can lead to inefficient operation or inaccurate temperature control; If unsure, consult a qualified HVAC technician․ This setting dictates how the thermostat manages your heating and cooling equipment․
Programming the Thermostat
The T4 Pro offers Manual and Automatic program modes, allowing customized heating/cooling schedules and precise temperature setpoints for comfort and efficiency․
Understanding Program Modes (Manual, Automatic)
The Honeywell TH4110U2005 thermostat provides two primary program modes: Manual and Automatic․ In Manual mode, you directly control the heating and cooling system, overriding any pre-set schedules․ This is ideal for temporary adjustments or when a consistent schedule isn’t needed․
Automatic mode utilizes the programmed schedule you create, automatically adjusting the temperature based on the time of day and day of the week․ This mode maximizes energy savings and comfort by ensuring the thermostat operates efficiently․ You can easily switch between these modes using the thermostat’s interface, allowing for flexible control depending on your needs and preferences․ The system changeover control also functions within these modes․
Creating a Heating/Cooling Schedule
To establish a heating/cooling schedule on your Honeywell TH4110U2005, navigate to the programming section via the thermostat’s menu․ You’ll typically define different “periods” throughout the day – such as Wake, Leave, Return, and Sleep – and assign a desired temperature setpoint to each․ The thermostat allows for unique schedules for weekdays and weekends, accommodating varying routines․
Carefully consider your daily activities when setting these periods and temperatures․ Lowering the temperature while away or asleep conserves energy․ The intuitive interface guides you through each step, ensuring a customized and efficient schedule tailored to your comfort and energy-saving goals․
Setting Temperature Setpoints
Adjusting temperature setpoints on the Honeywell TH4110U2005 is straightforward․ From the main screen, use the up and down arrow buttons to increase or decrease the desired heating or cooling temperature․ The current setpoint is prominently displayed․ Remember that these setpoints define the temperature the thermostat aims to maintain during scheduled periods․
For optimal comfort and energy efficiency, experiment with different setpoints to find what suits your preferences․ Small adjustments can yield significant savings․ The thermostat remembers your settings, ensuring consistent comfort․ You can also temporarily override the schedule by manually adjusting the temperature, which will remain until the next scheduled period begins․

Advanced Features
The TH4110U2005 offers system changeover control and optional cover plate installation, enhancing functionality and aesthetics for personalized climate management․
System Changeover Control
The Honeywell TH4110U2005 thermostat provides a system changeover feature, allowing seamless switching between heating and cooling modes․ This functionality is particularly useful for systems with auxiliary or emergency heat․ Note that this ISU (Interface Selection Unit) is only displayed if ISU 205 is set to Electric Forced Air or Fan Coil configurations․
Users can select between ‘Manual’ and ‘Automatic’ changeover modes․ In ‘Manual’ mode, the user directly controls the system switch․ ‘Automatic’ mode intelligently manages the changeover based on programmed temperature setpoints and system demands, optimizing comfort and energy efficiency․ The thermostat can automatically determine when to switch between heating and cooling, ensuring a consistently comfortable indoor environment․
Optional Cover Plate Installation
The Honeywell TH4110U2005 thermostat offers an optional cover plate for aesthetic purposes and to conceal wall imperfections․ Before proceeding with installation, determine if the cover plate is required․ If not, proceed directly to the UWP (Universal Wall Plate) mounting instructions․
Installation involves carefully aligning the cover plate with the mounted thermostat baseplate․ Ensure a snug fit, concealing any visible wiring or mounting hardware․ The cover plate enhances the thermostat’s appearance, providing a cleaner and more integrated look within your home décor․ Proper alignment is crucial for a professional finish and secure attachment․

Troubleshooting Common Issues
Addressing issues like power failures, incorrect readings, or connectivity problems ensures optimal performance of your Honeywell TH4110U2005 thermostat system․
Thermostat Not Powering On
If your Honeywell TH4110U2005 thermostat fails to power on, begin by verifying the power supply․ Ensure the system breaker controlling the thermostat is switched on and functioning correctly․ Check the thermostat wiring, confirming all connections are secure and properly seated on the terminal blocks․ A loose wire can interrupt power flow․
Confirm that the C-wire (common wire) is correctly connected, as this is essential for consistent power․ If a C-wire isn’t present, a C-wire adapter might be necessary․ Inspect the batteries, if applicable, and replace them with fresh ones․ Finally, double-check the system type setting within the thermostat’s configuration to ensure it aligns with your heating/cooling system․
Incorrect Temperature Readings
If the Honeywell TH4110U2005 displays inaccurate temperature readings, first ensure the thermostat isn’t directly exposed to sunlight, drafts, or heat-generating appliances․ These external factors can significantly skew temperature sensing․ Verify the thermostat is level; an unlevel installation can affect accuracy․
Check for obstructions blocking airflow around the thermostat․ Recalibrate the temperature within the thermostat’s settings menu, comparing it to a known accurate thermometer․ If the issue persists, inspect the wiring connections to the temperature sensor․ Consider a system check to rule out issues with your heating or cooling equipment impacting temperature regulation․
Connectivity Problems
Should your Honeywell TH4110U2005 experience connectivity issues, initially confirm your home Wi-Fi network is functioning correctly and the thermostat is within range․ Restart both your router and the thermostat – a simple reboot often resolves temporary glitches․ Verify the correct Wi-Fi password was entered during setup․
Check for any firmware updates available for the thermostat through the Honeywell Home app; outdated firmware can cause connectivity problems․ If issues continue, try resetting the thermostat’s network settings and re-establishing the connection․ Ensure no physical obstructions interfere with the wireless signal․ Contact Honeywell support if problems persist․
Maintenance and Care
Regular cleaning with a damp cloth ensures optimal performance․ Replace batteries as needed to maintain accurate temperature readings and consistent operation․
Cleaning the Thermostat
To ensure your Honeywell TH4110U2005 thermostat continues to function optimally, regular cleaning is recommended․ Begin by turning off the system at the breaker to avoid any electrical hazards․ Gently remove the thermostat cover – consult your installation guide for specific instructions on cover removal, as methods can vary slightly․
Use a soft, dry cloth to wipe down the exterior of the thermostat, removing any dust or debris․ For stubborn marks, lightly dampen the cloth with water, ensuring it’s not dripping wet․ Avoid using harsh chemicals, abrasive cleaners, or solvents, as these can damage the thermostat’s surface or internal components․
Pay particular attention to cleaning the display screen with a very soft, lint-free cloth․ Once clean and dry, carefully reattach the cover․
Battery Replacement
The Honeywell TH4110U2005 thermostat may require battery replacement, even when connected to a power source, to maintain settings during power outages or as a backup․ To replace the batteries, first, turn off the system at the breaker for safety․ Gently remove the thermostat cover, referencing your installation guide for the correct procedure․
Locate the battery compartment and note the battery type required – typically AA alkaline batteries․ Remove the old batteries and insert new ones, ensuring correct polarity (+ and -)․ Reattach the thermostat cover securely․
Proper battery replacement ensures continued operation and prevents loss of programmed settings․
Warranty Information
Honeywell warrants the TH4110U2005 thermostat to be free from defects in material and workmanship for a period of one (1) year from the date of purchase․ This warranty applies to normal residential use and does not cover damage resulting from misuse, abuse, improper installation, or unauthorized modifications․
To obtain warranty service, contact Honeywell Home customer support with proof of purchase․ Honeywell’s obligation under this warranty is limited to repair or replacement of the defective product, at Honeywell’s discretion․
This warranty gives you specific legal rights, and you may have other rights which vary by location․